Ingredients
- 4 cups (500g) whole wheat flour/atta
- 1 cup (200g) sugar
- 4 tablespoons semolina/suji
- ½ cup (120ml) clarified butter/ghee
- ½ cup (120ml) water
- 1 pinch salt
- oil for frying
Note– Please read recipe notes in the end.
Main Equipments Used
- Non-Stick Kadhai: https://amzn.to/46Nfe1r
- Saucepan: https://amzn.to/3tSJ8CY
- Induction Cooktop: https://amzn.to/2Jkn4px
Steps In Making Atta Shakarpara
- To make the sugar syrup, in a pan add water and sugar and let it simmer till the sugar dissolves completely. Once done let it cool down.
- In a large bowl add whole wheat flour, semolina, salt and mix well.
- Now add ghee and rub the whole wheat flour with it. It will form a sand like texture and when you will hold it in between your hands tightly, it will form into a ball.
- To make the dough, add the sugar syrup into two parts and knead for 5-6 minutes and make a firm dough. Cover it with a cloth and let it rest for 20-30 minutes.
- Divide the dough into 3 equal parts and form round balls/peda.
- On a plain surface roll thick chapatis with a rolling pin and then cut them into small square or diamond shape. Similarly make all the shakarparas.
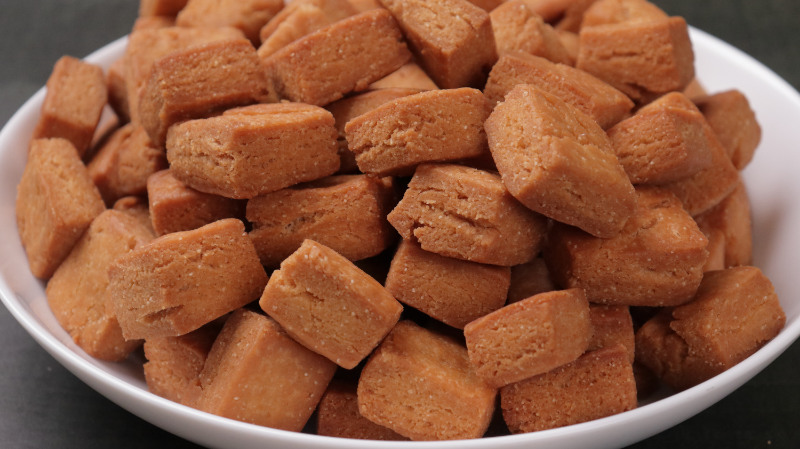
- To fry the shakar paras heat oil in a kadai and let it turn medium hot. Now carefully add the shakarpara and fry them on low – medium flame for 7-8 minutes or until it gets a golden colour crust. They will become slightly large in size after frying and form small layers.
- Remove the fried shakarpara’s on a tissue paper and let them cool down completely.
- Store in an airtight container for upto 2 months.
Recipe Notes
- While kneading the dough make sure it’s not very soft, else the shakarpara’s wont get the perfect crunchy texture.
- Don’t roll the shakarpara’s too thin, else they will become hard and wont get the perfect layers.
- Never fry these shakar para’s on high flame, else they will remain uncooked from the centre.
- You can add sesame seeds too while mixing the dry ingredients.
- Let them cool down completely before storing, else they will turn soft.


